Saturday 31 December 2011

Ribbon Bangles (Wide Pink)

Hello there and I hope you are all looking forward to 2012.

For today's post, I wanted to get out the ribbon box for the last time in 2011. I have chosen a bright pink silk organza ribbon to make an already pretty bangle more wearable. Before adding the ribbon, the bangle had very course edges and was unwearable without a long sleeve.

Lella Loves... Ribbon Bangles

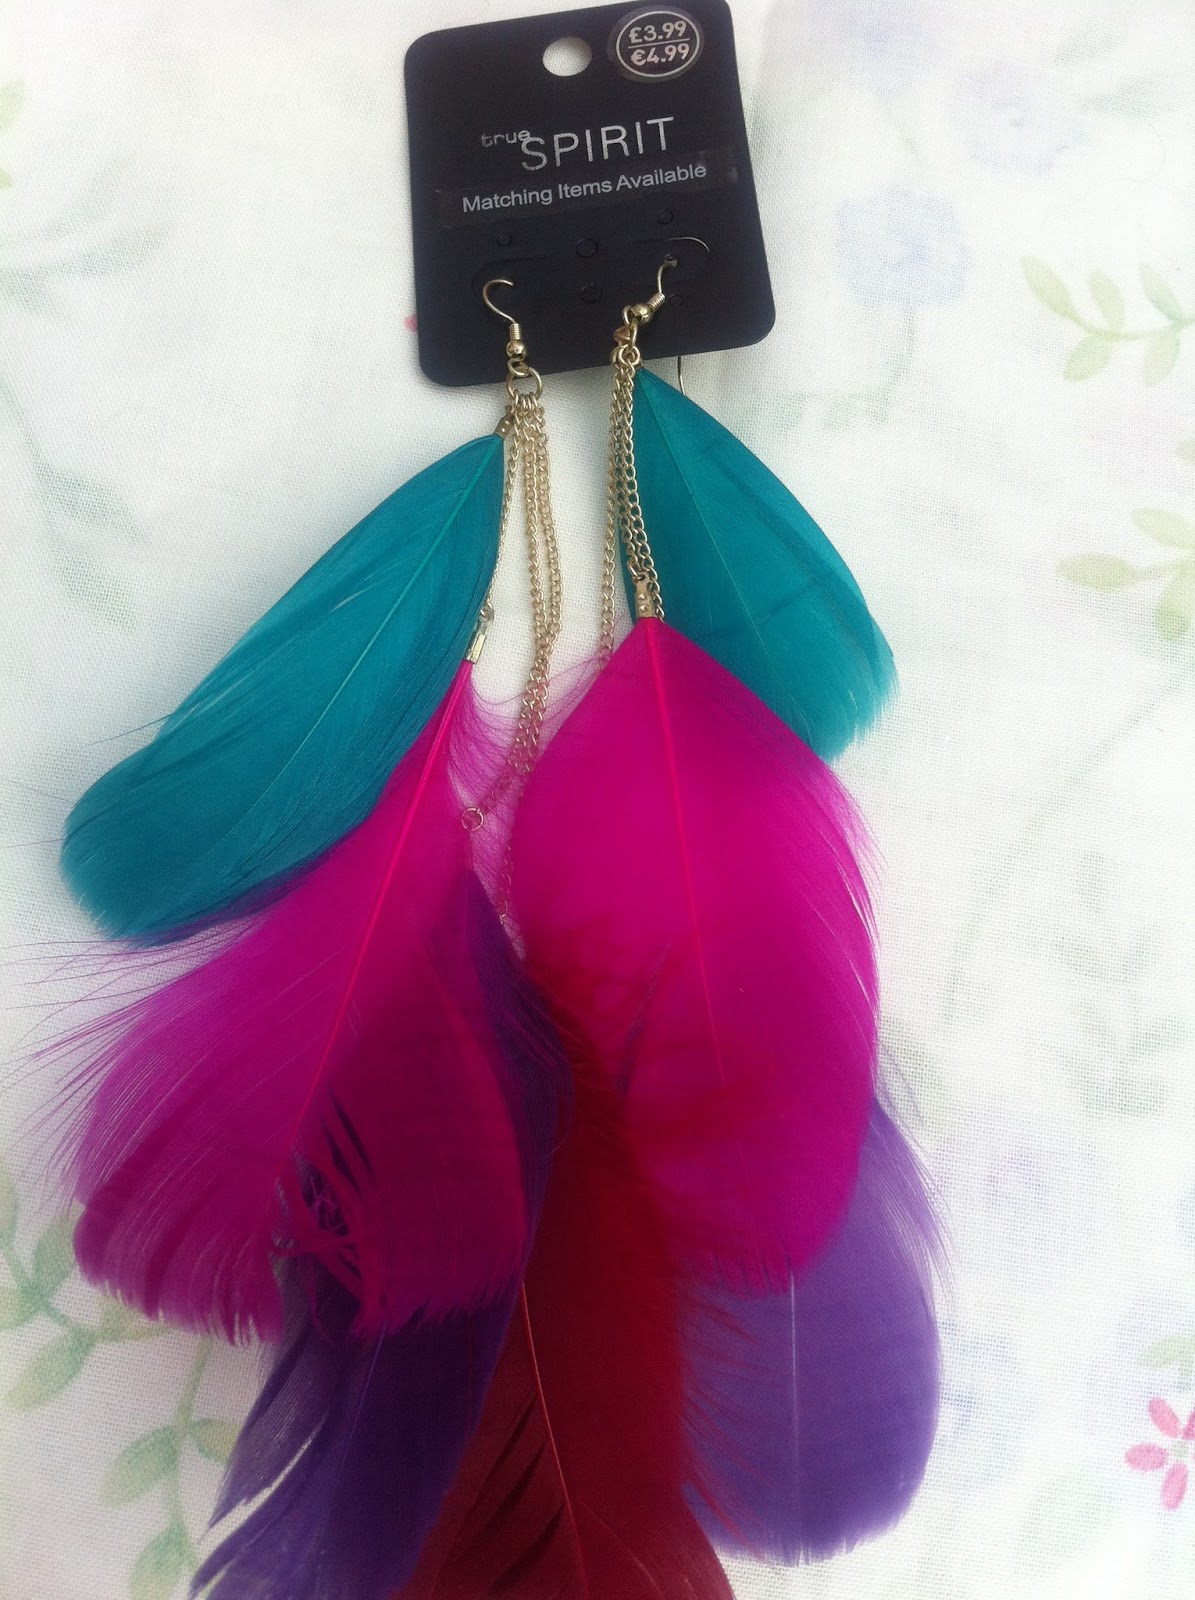
A party demands pretty clothes and statement accessories. Make yourself something fabulous if you are going out tonight.

Lella Loves... Ribbon Bangles

I bought this shimmery beauty only to find the edges were a rather rough but as a lover of ribbons, there is always an easy answer.

Lella Loves... Ribbon Bangles

Choose a wide cuff or maybe use that pesky but pretty bangle which snags your clothes. We have all bought one at some point. To make it wearable, simply wrap it in 1 inch wide, silk organza sheer ribbon. Ribbon has to be one of the best ways to wrap a bangle which has scratchy edges.

Choose a colour which matches your bangle.

Lella Loves... Ribbon Bangles

Before you start wrapping, pull the ribbon through and leave a tail of approximately 12 - 18 inches depending on how full and flowing you want your bow.

Lella Loves... Ribbon Bangles

Start wrapping and remember to wrap back over two thirds of the ribbon when using a 1 inch wide sheer.

Lella Loves... Ribbon Bangles

Don't let your ribbon go all saggy like grannie's knicker elastic! Keep it taught. You cannot over-tighten organza as it will tear and fray. Work with it to discover its potential and if you are not happy with your first attempt, unwrap and start again. You will get a feel for the various types of ribbon the more you work with them.

Lella Loves... Ribbon Bangles

Keep on wrapping and keep it neat.

Lella Loves... Ribbon Bangles

Once you have wrapped the entire bangle, take your first tail and crossover the ribbons on the inside of the bangle and then bring the two ends and make a knot. If you do this neatly, the original bangle cannot be seen.

Lella Loves... Ribbon Bangles

I love bows on bangles so I tied a huge flounce of a bow but if you are not so keen, simply knot your ribbons on the inside of the bangle and don't have a bow.

Fuchsia is most definitely the colour for a party girl! Wear it with bright red and orange for a vibrant clash.

*Tip: It is your bangle so make it to suit your outfit and style. My blog-makes are to show you the possibilities and to inspire you to express yourself through crafting and make-dos.

To help you with the finishing - the crossover and the knot - my post with the purple organza has a good photo showing the crossover of the ribbons. Here is the link:

http://lellalovescreativity.blogspot.com/2011/11/ribbon-bangles-purple.html


Have fun, folks and a Happy New Year!

Lella  xx

Friday 30 December 2011

Silk Flowers (Purple Eucalyptus)

Eucalyptus is normally thought of as a good evergreen filler for seasonal arrangements and winter displays. However, as a fan of silk flowers and everlasting greenery, I love to use both, especially the purple variety which can be found at good silk floral stockists.

This display is set in a copper trough which I found at a flea market and it looks perky and colourful no matter which room I place it in.

Lella Loves... Purple Eucalyptus

I move my arrangements around all the time and here is the purple eucalyptus with the olive display and my verdigris pecking chickens.

The olive display is photographed in its own post. Here is the link to see it in full:

http://lellalovescreativity.blogspot.com/2011/09/silk-flowers-olive-branches.html

The black framework which is holding everything is an etagere, otherwise known as a 3 tier garden stand made of wrought iron.

Lella Loves... Purple Eucalyptus

My Hallowe'en mantle was filled with pumpkins and silk oak leaves. I added the purple eucalyptus to give height and as a backdrop for my wooden crow.

Lella Loves... Purple Eucalyptus

A perfect combination for a small corner is a simple display on a couple of vintage leather travel cases.

If you wanted to recreate this arrangement for your home, you will need:

22 stems of everlasting purple eucalyptus
2 blocks of dry Oasis foam
Copper trough or similar
Dried moss
Snips or pliers

All you need to do is cut your dry Oasis and fit it into your chosen container. Trim the eucalyptus so the top of the container meets the start of the leaf spray. Arrange all the stems and then cover the Oasis with the dried moss to give your display that professional finish.

Your arrangement will last you many years. Remember not to place evergreen or silk flowers in direct sunlight.

Let me know if you make your own and I want to hear if you love it!

Lella  xx 

http://lellalovescreativity.blogspot.com

Thursday 29 December 2011

Bespoke Earrings

As a bargain hunter and crafter, you might not be surprised to hear I have been shopping in the sales: And oooh! I have found some bargains.

Today's post is a fun way to mix and match two pairs of earrings into just the one pair which is bespoke to you. Both of these earring pairs were reduced and I thought that the feathers would add a bit of fun to the peacock's tail.

Lella Loves... Earrings

The peacock's tail is jewelled so the earrings are a good weight before I have added anything. Always take the weight of the starter pair into account.

Lella Loves... Earrings

I chose these vibrant feather earrings as they are light and would look fabulous as an extension to the peacock's tail.

Lella Loves... Earrings

Using basic pliers, I unhooked the jump ring from the fish hook ear wire.

Tip*: Before you buy any earrings, do check that they are easily wired. Simple findings can be undone using a pair of round nosed pliers.

Lella Loves... Earrings

Taking care not to drop the tiny hoop finding, I simply attached the feathers to the bottom of the peacock's tail using the same jump ring.

Lella Loves... Earrings

I am rather pleased with my 'shoulder dusters'. I saw a similar pair with just one black feather hanging off an beaded earring and they were £9.

If you have enjoyed this blog-make, and you like the idea of DIY earrings, go out to the sales and have fun hunting for earrings which can be easily taken apart.

I bought these from Superdrug but amazing discounts are to be found in Debenhams, Accessorize and Sainsbury's TU range. Half price earrings should be your starting point but look in the 70% section for groovy deals.

Let me know if you make your own.

Lella  xx

http://lellalovescreativity.blogspot.com

Wednesday 28 December 2011

Vintage Magazine Adverts

I love old adverts and my kitchen is filled with teeny tiny boxes, vintage tins and pre-war tatty packets. If you too love adverts for sweeties which remind you of your childhood, why not seek them out and frame up one or two.

Lella Loves... Vintage Adverts

These adverts are from a magazine published in the 1950s. I also have Spangles, Bounty, Fry's and Sharpe's Toffee. The colours are still vibrant and they deserve to be framed and on show.

Lella Loves... Vintage Adverts

It is incredible to think that these adverts are over 60 years old. This is such a simple but effective little craft project. Once you have found an advert you like, all you need is a frame.

Lella Loves... Vintage Adverts

As it is Christmas, I wanted to show you the Wrigley's stocking as well as the Sellotape Christmas tree.

Adverts like these can be found for a few pounds even though they are 60 years old. Just one would look lovely framed up, on a kitchen wall. If you wanted to buy any item you see on my blog, feel free to message me.

Have a lovely day.

Lella  xx

http://lellalovescreativity.blogspot.com

Tuesday 27 December 2011

Chupa Chups Lolly Bucket

If you were lucky enough to be bought a huge tub of Chupa Chups lollies, keep the tin bucket and use it as a bin. The bright colours make it a really funky, potentially retro, recycling bin for kitchen waste.

Lella Loves... Tinware

Children rarely know what a bin is for but they would be encouraged to use it for rubbish if you let them have it in their room.

I am a fan of repurposing containers and large tin buckets are perfect as waste paper bins.

Tins which are manufactured to hold edible produce would usually be made with a food-grade varnish so the tin can be reused for biscuits or sweets. However, the rubbish bin option is a good idea if you discover that you have a tin which is not airtight.

Lella  xx

http://lellalovescreativity.blogspot.com

Monday 26 December 2011

Felt Flower Brooch

I bought this flower brooch from a charity shop but if you wanted to make one for yourself, I have worked out how to make them. Felt is very good value if you purchase children's craft packs from Hobby Craft and it is lovely to work with. It's easy to cut and easy to sew.

Lella Loves... Felt Flowers

This felt flower brooch was £6.50 and it is from the Fair Trade section in Oxfam where they sell new goods made by communities in countries which receive funds from Oxfam. It is rather large and I love the colours but I wanted to make my own to be able to give as gifts.

Lella Loves... Felt Flowers

To make your own, you will need:

Felt balls
Felt squares in toning colours
Heart cookie cutter
Brooch clip
Needle and thread

Lella Loves... Felt Flowers

Felt comes in nearly every colour you can imagine.

Lella Loves... Felt Flowers

Choose two fabulous toning colours for your flower.

Lella Loves... Felt Flowers

Simply take your felt and cut out 5 hearts using the heart cookie cutter as a template. You will need 5 large heart shapes for the back petal section.

You then make 2 smaller five-petal flowers and choose a felt ball which matches.

Lella Loves... Felt Flowers

Sew the two little flowers together with the felt ball and then attach them to the back petals. Sew them all together and hide all your construction stitches which a felt circle. The last thing you need to do is to sew on a bar brooch clasp.

Ta dah! Pretty felt flowers for pennies.

Have fun and pop back soon.

Lella  xx

http://lellalovescreativity.blogspot.com

Sunday 25 December 2011

The Power of the Human Mind

I saw this in a local community newsletter and I wanted to share it with you.

Can you blveiee taht you can unrdensatnd waht you are rdeanig?

It rllaey dsoen't mttaer in whcih oredr the ltteers in a wrod are.  The only improtnat tnhig is taht the frist and the lsat ltteers are in the rghit plcae.

The ohter ltteers can be a taotl mses but yuor barin will siltl be able to raed what is on the pgae wthiuot too mnay porblems.

Tihs is bceuase the hmuan mnid does not raed eevry ltter on its own. Yuor bairn is so ceelvr taht it can skip-raed and olny ndees to see wrds as a wlhoe.

Azamnig!

And trhee is me wrroynig aoubt poorf-raeding eevry psot.


I hope you enjoyed that :)

Lella  xx

http://lellalovescreativity.blogspot.com

Sunday 18 December 2011

Simple Pleasures (Putting Up the Christmas Tree)

I know that putting up the Christmas tree is a real pleasure for many of you and it is for me too. There have been various trees over the years. As kids, we had a huge white tree with rainbow lantern lights and lots of multi-coloured decorations. I loved that tree and maybe one day I might do the full-on colour explosion that was our family Christmas tree.

As an adult, I have realised that I like to theme and one year, I had a green tree with red baubles and tartan ribbon. Another time there was the very 'Goth' black tree. That was rather groovy and looked lovely with its purple baubles and a purple feather boa instead of tinsel.

This year, the chocolate brown tree makes another appearance.

Lella Loves... her Christmas Tree

My favourite tree is finally up and dressed.


Heavy glass baubles combined with unbreakable brown decorations. You wouldn't be able to tell unless you felt their weight.


Lella Loves... her Christmas Tree

I have used bead chains instead of tinsel as tinsel should be draped over mirrors and wrapped around newel posts but that's only my opinion.


Lella Loves... Brown Baubles

Ribbon is an obsession of mine and I always thread the baubles with a toning 7mm satin.

Lella Loves... Orange Slices

A rainy day craft project is to make these slices of dried orange.

Simply warm your oven, slice an orange across the fruit so you are at right angles to the segments. Lay the slices on a baking tray and 'bake' on a super-low heat for several hours. The house will smell fabulous.

These were made by a friend last year and she sent them to me as a surprise.

Lella Loves... her Christmas Tree

I know it seems rather odd... "A brown tree?" I hear you say.

However, my lovely brown tree is covered with coppertone orange baubles, brown baubles covered in glitter which look like they are dipped in chocolate sprinkles plus glass baubles, orange beads and orange fairy lights. It really does look very different and I love it.

Keep warm and let me know which colours you have decorated your tree with.

Lella  xx

http://lellalovescreativity.blogspot.com

Saturday 17 December 2011

Twiggy Star Christmas Door Hanging

If you wanted to make something for your front door but did not want a wreath, how about making one of these: a twiggy star door hanging with bells. It is easy to construct and you could use all shop-bought decorations if you wanted.

Lella Loves... Twiggy Stars

It is a simple door hanging made with one large twiggy star, a handmade padded heart and three large bells.

Lella Loves... Rusty Bells

To get started, take your bells and thread two of them with 20 inches of jute cord or garden twine. Leave one unthreaded.

Lella Loves... Twiggy Stars

Tie two of the bells to the twiggy star and make sure that they hang at different lengths. You do not want your bells to be touching. They should be sitting one above the other.

Lella Loves... Fabric Hearts

Padded hearts are easy to make and this is a 7 inch Shaker style fabric heart made with cotton fabric and stuffed with kapok. They take about an hour to make from start to finish and here is the link to my previous blog-make for them:


Lella Loves... Recycling

This is a piece of wire with tiny olive leaves which I saved from a foodie gift, received last year. I suggest you use tinsel or a piece of copper wire with some small leaves threaded on if you wanted a similar effect.

Lella Loves... Twiggy Stars

Taking the fabric heart, I wrapped the olive leaf wire around the middle and attached it to the twiggy star. A little tip would be to set things at a jaunty angle. Attach decorations slightly off-centre to achieve that homemade, prim country feel.

Lella Loves... Twiggy Stars

Using a shop-bought bell which came with a small sprig of fake pine, I wrapped the tail ends of the olive wire around it and fixed it snugly to the front of the padded heart.

Lella Loves... Twiggy Stars

Your finished door hanging should look something like this but don't worry if it is not the same. This blog-make is to inspire you to be creative with the items you have in your home.

Spend time doing crafts and if you wanted to fill a stocking with pine cones and have that on your front door, you go for it!

Lella Loves... Twiggy Stars

Using clear zip ties, fix your star to your front door.

Lella Loves... Twiggy Stars

The bells will jingle and the heart will make your guests smile every time they come to your door. I am obsessed with fabric hearts so I will show you another option for a hearts door hanging next week.

Have fun Christmas shopping :)  The extra large bells and the twiggy stars can be found in most garden centres. I have also seen a huge twiggy heart so watch this space as I might get the urge to buy one ahead of Valentine's Day.

Lella  xx

http://lellalovescreativity.blogspot.com

Friday 16 December 2011

Silk Flowers (Ranunculus)

Today's floral arrangement is one of my favourites for full-on winter colour. This display consists of silk ranunculus in several deep, gorgeous winter-flowing colours in a huge fruit bowl. I have used hypericum berries to add texture plus a mixture of fake grasses to add greenery.

Lella Loves... Silk Flowers

To recreate this, you will need:

7 ranunculus posies
7 hypericum berry stems
Everlasting grasses in toning colours
Large pottery basin
Marbles


Lella Loves... Silk Flowers

To start, fill your bowl with your chosen ballast such as marbles (or clean, dry gravel) and arrange your stems to create a display which you are happy with.

Lella Loves... Silk Flowers

The fabulous hypericum berries might well have anything up to 20 inches of stem so trim to the same height as your ranunculus.

Lella Loves... Silk Flowers

You will find that some stems will need trimming as many fake grasses are usually about 12 inches long. A few blades of grass can be left slightly longer to give a feathery, wispy overfill effect but no more than three or four. You don't want your display to look messy and overgrown!

Remember that every flower I use in my displays are silk but you could use real flowers and greenery if you like the arrangement but are not keen on fake florals. I hope to inspire you to have flowers in your home all year round.

Have a lovely day.

Lella  xx

http://lellalovescreativity.blogspot.com

Thursday 15 December 2011

Calligraphy Evening Class

One of the sweetest people I know, and one whom I am lucky enough to call a friend, is a calligraphy tutor and regularly holds classes so I was super-excited to be able to attend a free evening class which included a bookmark Make and Take.

Lella Loves... Evening Classes

I didn't have my camera with me at the time so I have simply photographed the bookmark I made on the evening.

All of the papers and equipment were provided and although my attempt is rather basic, I would encourage everyone to attend a craft class.

Lella Loves... Evening Classes

The sheer joy of sitting with fellow crafters, chatting and sharing tips, was an absolute pleasure. Look out for local classes in your area by keeping an eye on community notice boards.

Lella  xx

http://lellalovescreativity.blogspot.com

Lella Loves... Books

All books are free postage and are shipped from Amazon UK.

Click on any book to see price and availability.

Usually delivered within 48 hours.

More books to browse